Siril:Manual
Manual page for Siril
Siril is an astronomical image processing tool, see main page for more details.
Reducing green tint in processed images
This video tutorial shows how to remove the green tint in processed images using the graphical user interface. This function can also be accessed from the command line, with the rmgreen command.
<html5media width="750">http://free-astro.vinvin.tf/videos/RemoveGreen.webm</html5media>
Convert your images in the FITS format Siril uses (image import)
To process your images with Siril, you must convert them to the FITS format it uses (16-bit unsigned, bottom-top order, 1 or 3 axes). Fortunately, Siril is able to convert some image formats to this format, mainly RAW BMP and NetPBM binaries for images, AVI for films.
First, the working directory has to be set. Images will be taken from and converted to this directory. Click on "Change dir" at bottom right of the window to change it.
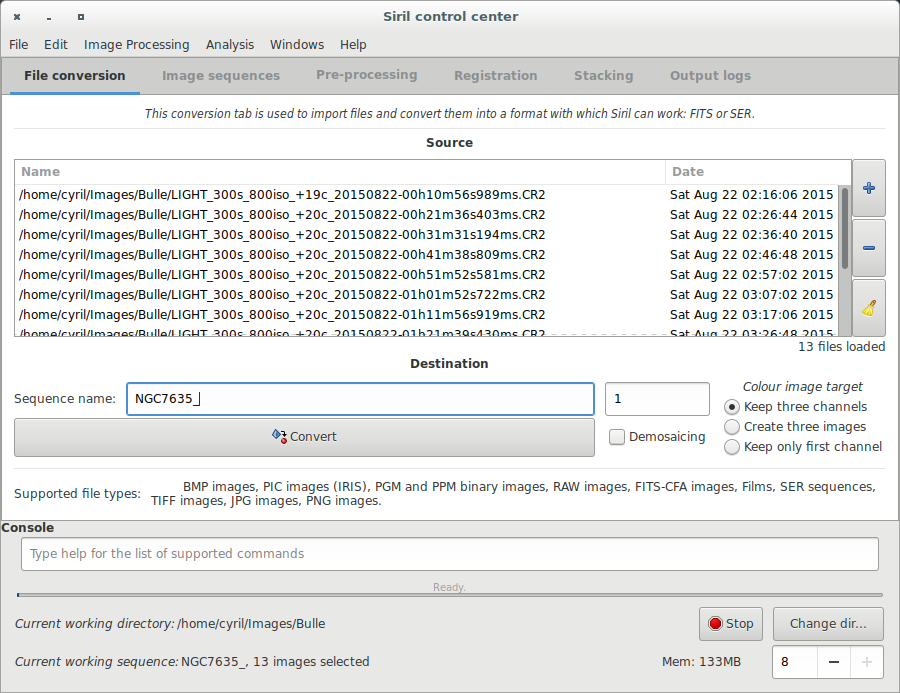
The fill the boxes for source and destination file names for the conversion. Here is a screen capture of the conversion tab, where a sequence of images called IMG_{number}.CR2 is being converted to m27_{same_number}.fit.
As you can see, the 1 axis/plane/layer format has been deactivated because it has not been tested since the rewriting of Siril, so conversion only works with 3-layer RGB files for now. Conversion of RAW files uses dcraw without colour or gamma correction, and that can take quite some time.
Work on a sequence of converted images
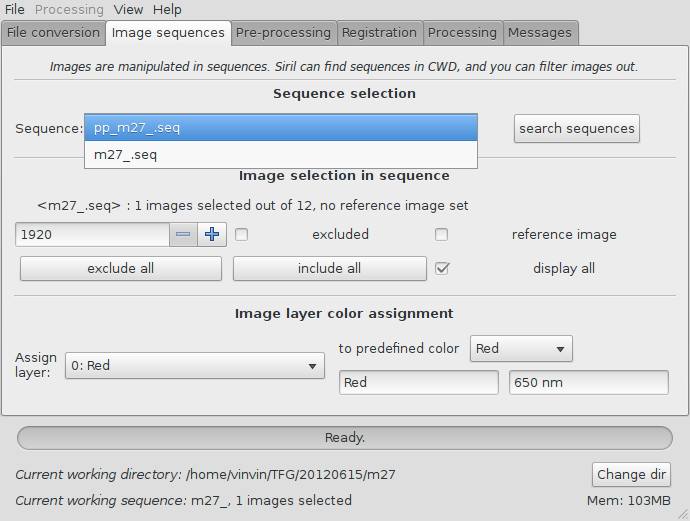
Once you have your Siril's format .fit files, you can switch to the sequence tab seen below. Sequences are what Siril uses to manipulate files.
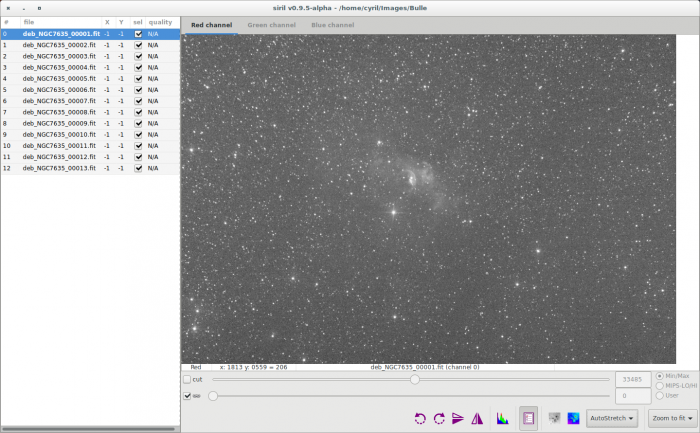
Click on the "search sequences" button. If you only have one .fit files sequence in the working directory, it is automatically selected. Else, the list will pop-up an you'll be able to select the sequence you want to use. When the sequence is loaded, two windows are opened: the grey frame control window, on the left of the image below, and the RGB composition rendering window, behind the main window on the image below.
The grey window is used to display colour components for the image, control their composition in the colour image, and give information about the displayed frame, like the layer's name (for now it can be only Red Green or Blue, but it will be settable to narrow bands some day), pixel value when moving the mouse on a pixel, file name and layer number, FWHM calculation is an area is selected (result is quite experimental), and zoom value.
The cursors at the bottom control thresholds for black and white on the grey image, allowing to play with contrast and lightness of each channel, mainly for previewing purposes.
Pre-processing images
One a sequence is loaded, images can be pre-processed, registered and stacked. The pre-processing is an optional step and involves offset, dark and flat frames. If you don't know what this is, you don't need it, but I suggest you read about it somewhere. Only one frame can be given for each of these three, and it has to be in Siril's FITS format. They should be created by median stacking, so you need to convert the source images to FITS, load the sequence and stack them before using them here. We'll assume this is done. For more info about stacking, see the Siril:Manual#Stacking section below.
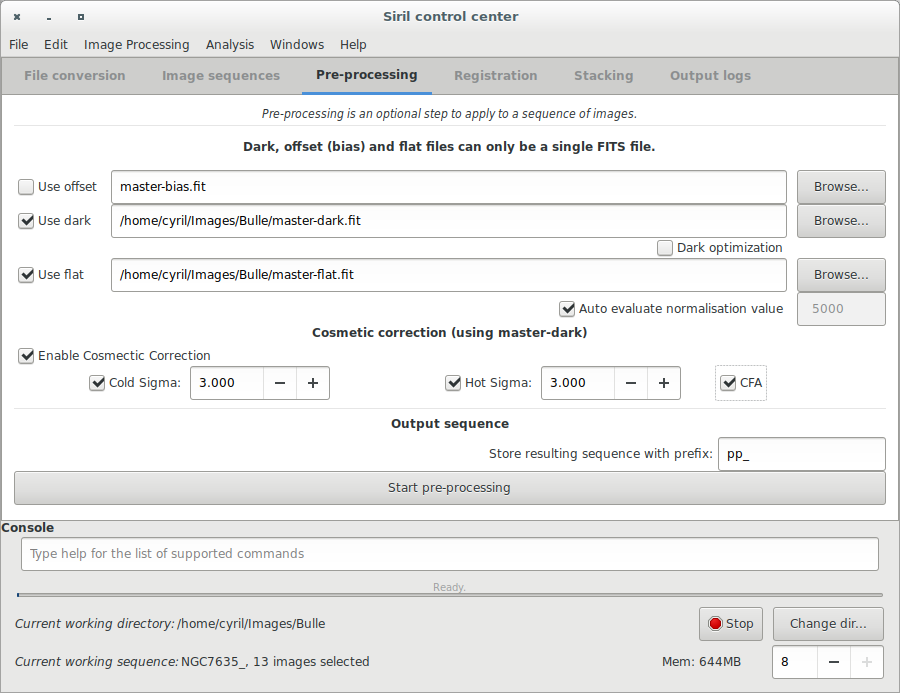
The pre-processing does not overwrites original FITS files from the sequence but creates new FITS files with the pre-processed data. The new file names are the same than the original prefixed with pp_ if you leave the default value in the prefix box. Below is an example of pre-processing using offset and dark files.
Registration (manual image alignment)
Siril has an automatic registration capability, but I can't say it's working fine at all. I suggest you use it as a first step if the quality of your images is good, or not at all if stars are not round, if focus is bad or if there is a lot of noise. Currently, only translation is used for image alignment, no rotation.
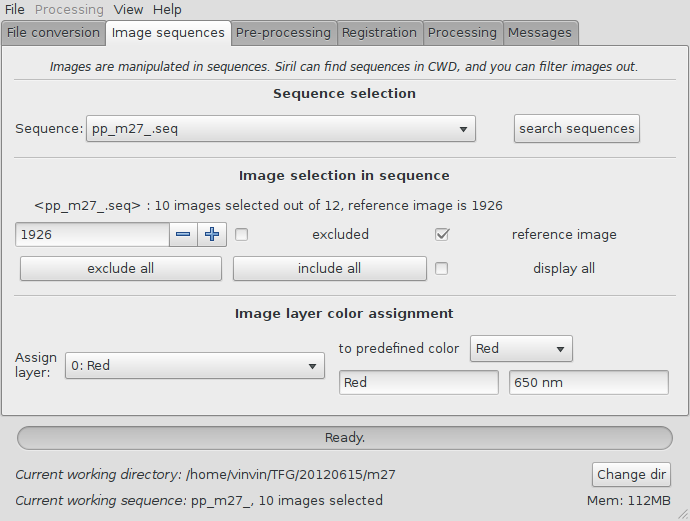
The first step is to load the sequence, if we continue this tutorial this will be the pp_m27 sequence. Go back to the sequence tab, and click on "search sequence" to find the new sequence created by the pre-processing. Select the pp_ sequence, which will open the image preview windows if not already opened, and display the first image of the sequence.
From this tab, you can change the image being viewed in the grey and colour windows, include or exclude them from a user-defined selection that will later be used to indicate which files should be stacked or not, and set the reference image. While browsing through the images of the sequence, a reference image may be set to a specific image if you think it has a better quality than the others, or if it's best centred. Note that when the reference image is set, it will be saved in the sequence and it will be opened first when loading the sequence the following time.
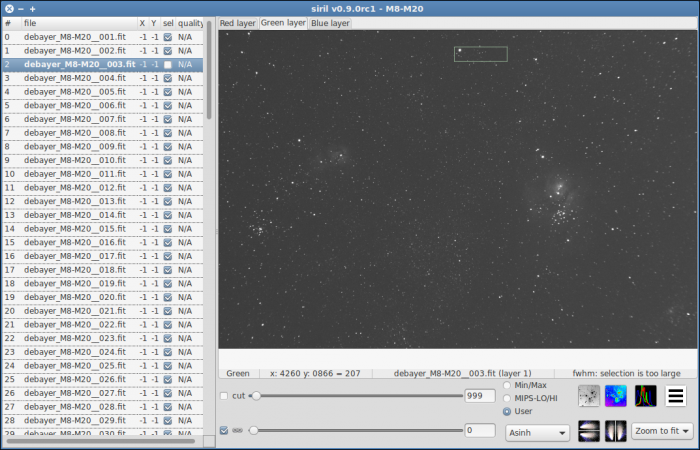
An alternative to the use of buttons of the sequence tab is to use the sequence list. Double click on the grey window to make it appear:
You can then open an image of the sequence by double-clicking on its line, and select (include or exclude) the image from the sequence by checking or unchecking its box. X Y and FWHM columns will be displayed later, when registration data is available. In the image above, you can see that two images have already been excluded from the sequence.
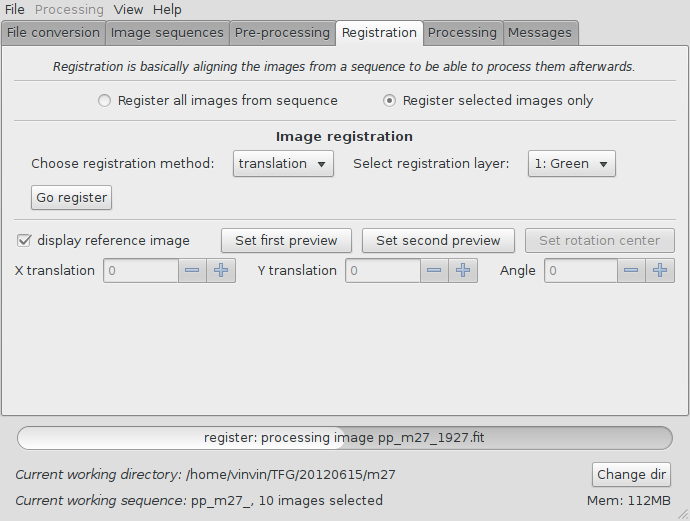
To do the automatic registration, select a star in a grey image, preferably in the same layer than the layer used for registration (green by default) to be sure that the star appears in this layer, and click the "Go register" button.
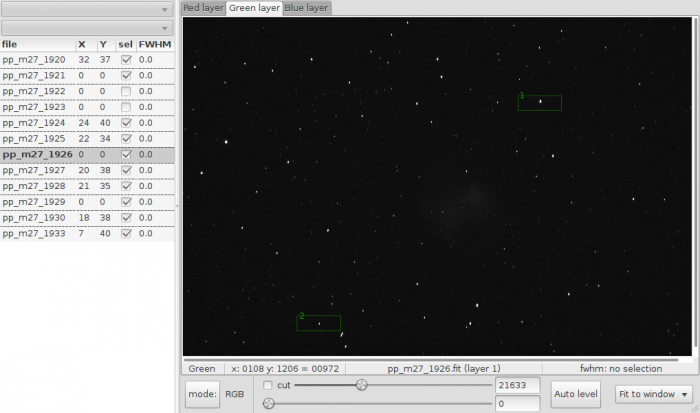
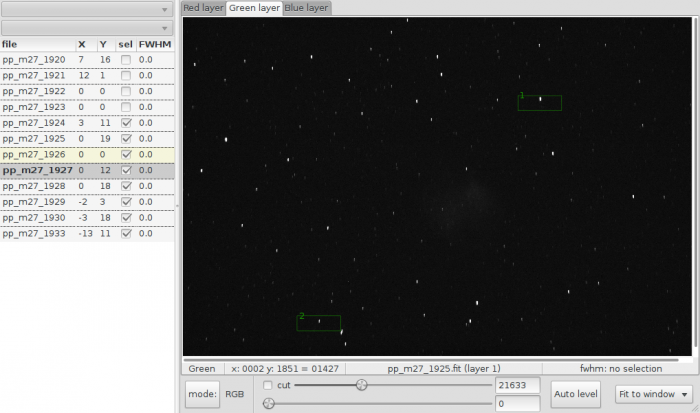
You can view the registration data in the list on the left when you are viewing the layer corresponding to the registration layer. You can also see in the image above that the reference image is on the yellow line and the currently displayed image has its name in bold.
Now, in order to validate the registration, which is never perfect, there is a way to display the reference image over the other images, taking into account the translation data, and also adjust this data to have a better fit. This is done in the preview area of the main window, in the registration tab.
Click on "Set first preview", then click on a star in the image when you have loaded the registration layer of the reference image. The preview area of the image in native resolution will be displayed in the main window. Do the same for the second preview, on the opposite of the image if several stars are available.
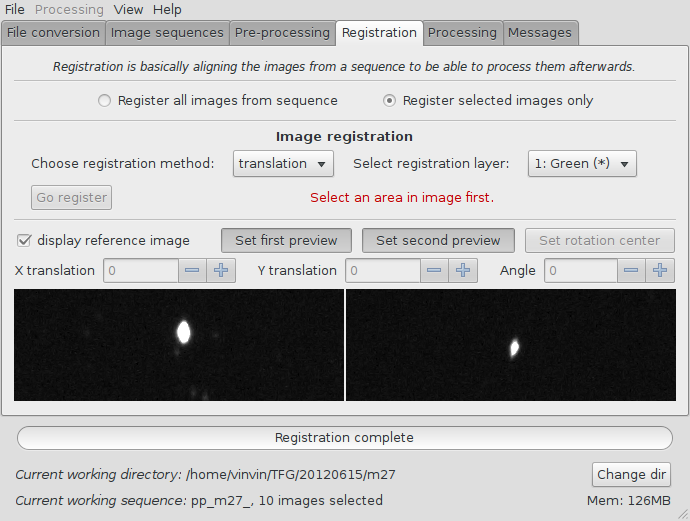
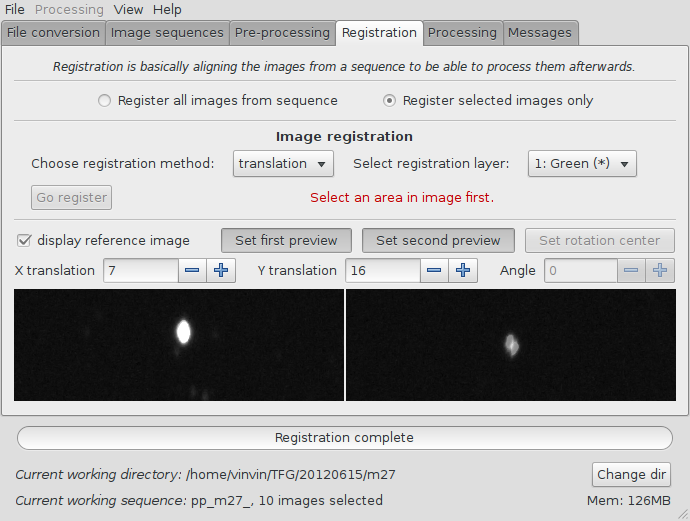
Now when you select an image in the sequence, you will see this image's layer's preview appearing with optionally the reference image's preview in transparency. Verify that both stars are aligned, and if not, use the X translation and Y translation spins to change it (use the mouse wheel or the arrows, it's easier). When the automatic registration doesn't work well, you have that kind of result at first:
If you can only have one star well aligned like the first one below and the other star way too far from the reference star like the second one below, it means that the camera has turned between the shots, and currently Siril is not able to rotate the frames, so you can exclude it from the sequence.
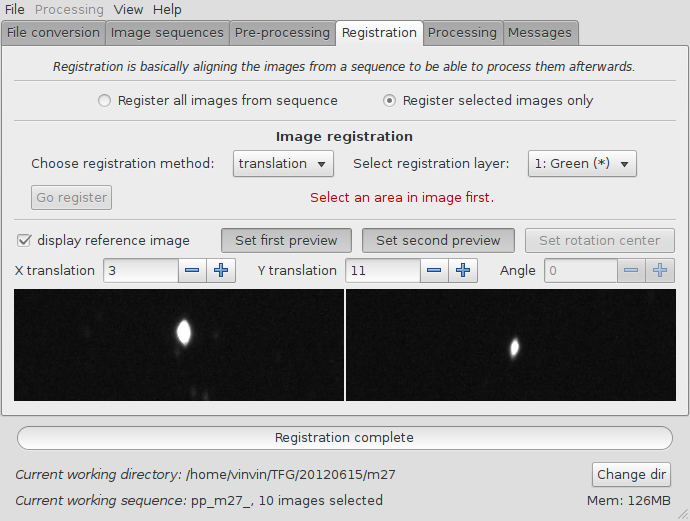
You should be able to get that kind of result if camera was not rotated:
One you have done it with all images, you will have the final list of selected images from the sequence, and much better alignment data than with the automatic registration:
Stacking
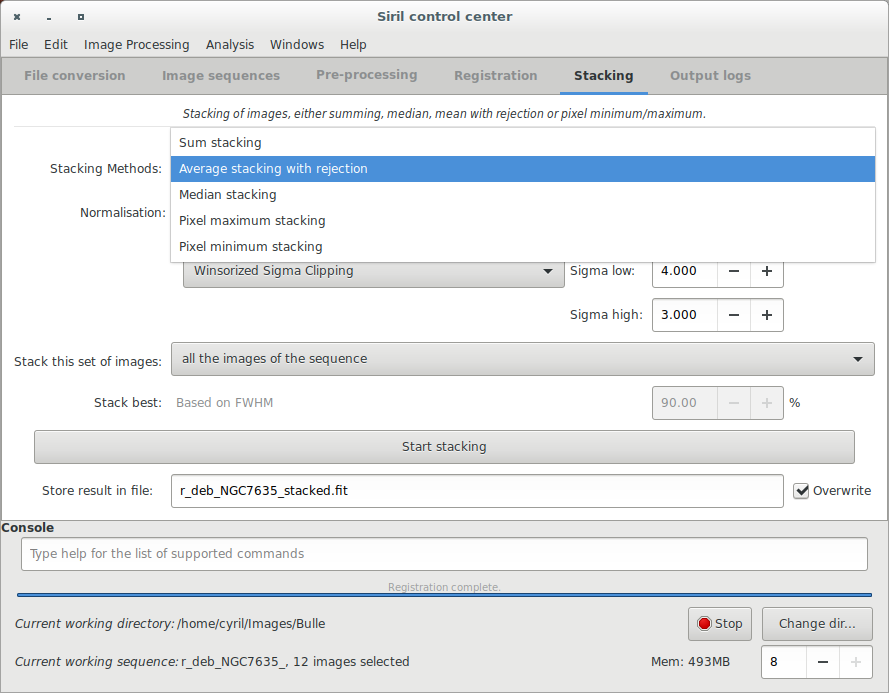
The final thing to do with Siril is to stack the images. Go to the "processing" tab, indicate if you want to stack all images or only selected images (the third option is not yet implemented). Then simply click on "Start summing stack" which is the regular stack. The median stack is mostly used to create pre-processing frames, like offsets or darks.
After that, the result is saved in the file named below the buttons, and is displayed in the grey and colour windows. You can adjust levels if you want to see it better, but that will not be saved in the FITS file.
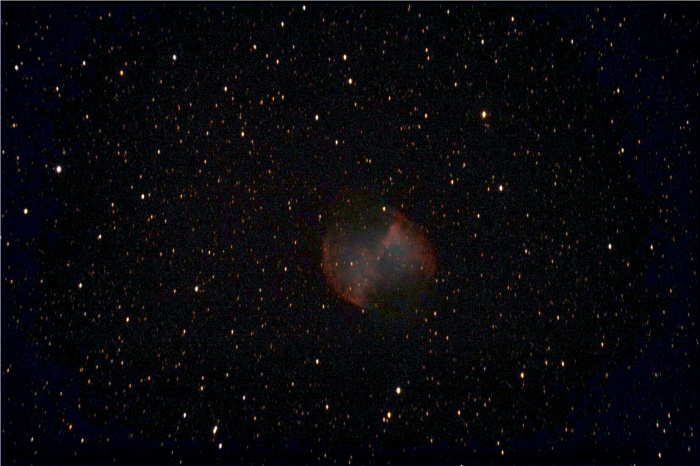
An export of the RGB composed image is being implemented, in order to use Siril's composition and level adjustment, but I recommend using an external tool such as the wonderful DS9 to adjust your levels. In particular, I use the asinh scaling for blue and green data because they are generally much less equalized than the red when using an unfiltered DSLR camera. Then, you can export the image and adjust final contrast and lightness in The Gimp for example. The following image has been created during this tutorial and edited in this way, from 8 20s images with a high background noise, no autoguiding and a very high periodic error.
