Siril processing tutorial
- Convert your images in the FITS format Siril uses (image import)
- Work on a sequence of converted images
- Pre-processing images
- → Registration (PSF image alignment)
- Stacking
Registration (PSF image alignment)
Siril has two automatic registration tools. In this example we will use the PSF one. Currently, only translation is used for image alignment, no rotation.
The first step is to load the sequence, if we continue this tutorial this will be the debayer_M8-M20 sequence. Go back to the sequence tab, and click on "search sequence" to find the new sequence created by the pre-processing. Select the debayer_sequence, which will open the image preview windows if not already opened, and display the first image of the sequence.
From this tab, you can change the image being viewed in the grey and colour windows, include or exclude them from a user-defined selection that will later be used to indicate which files should be stacked or not, and set the reference image. While browsing through the images of the sequence, a reference image may be set to a specific image if you think it has a better quality than the others, or if it's best centred. Note that when the reference image is set, it will be saved in the sequence and it will be opened first when loading the sequence the following time.
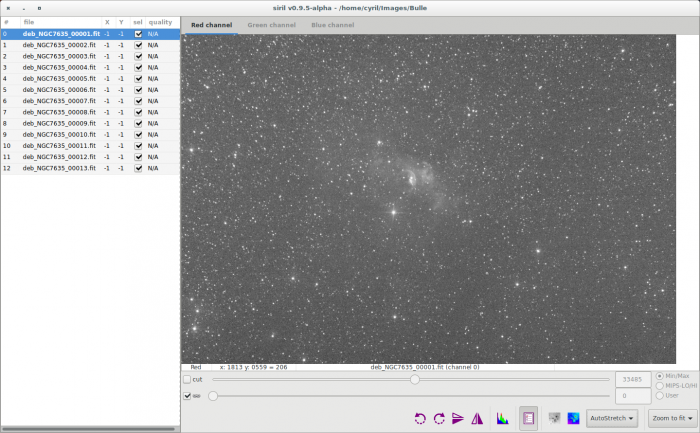
An alternative to the use of buttons of the sequence tab is to use the sequence list. Double click on the grey window to make it appear:
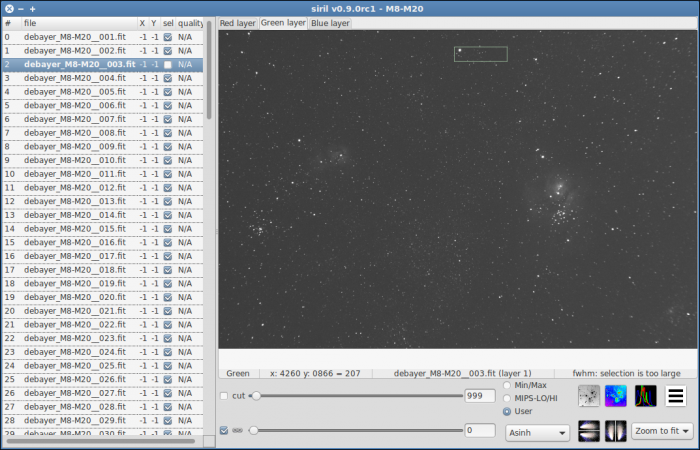
You can then open an image of the sequence by double-clicking on its line, and select (include or exclude) the image from the sequence by checking or unchecking its box. X Y and quality columns will be displayed later, when registration data is available.
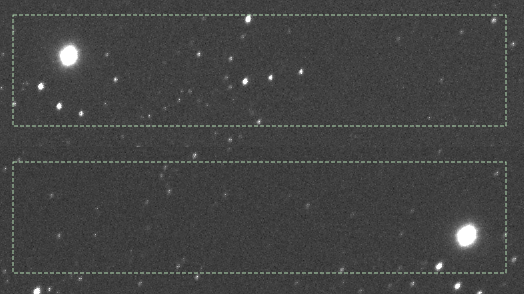
To do the automatic registration, select a isolated star in a grey image, preferably in the same layer than the layer used for registration (green by default) to be sure that the star appears in this layer, and click the "Go register" button. Also, make sure that the selection is large enough to include the star on every frame but not too large to avoid computing PSF of another star as you can see on the second image below.
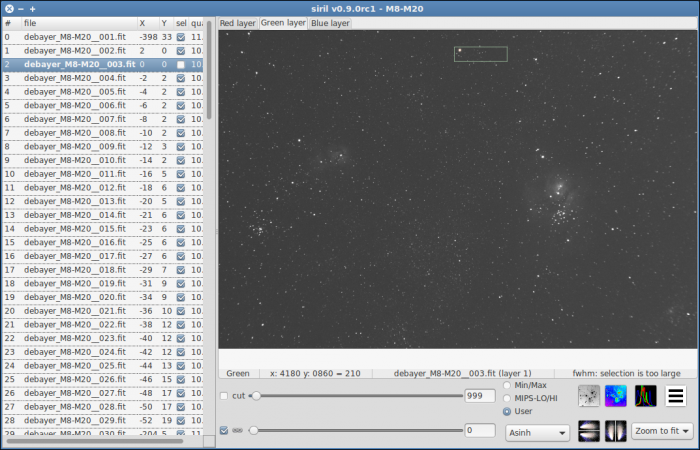
You can view the registration data in the list on the left when you are viewing the layer corresponding to the registration layer. You can also see in the image above that the reference image is on the yellow line and the currently displayed image has its name in bold. Take as reference the image with the lowest FWHM: this image is given by Siril in the console output.
Next item of the tutorial: Stacking.


