| Line 20: | Line 20: | ||
The images above shows you the result displayed in Siril with the Histogram Equalization tool. Note the increase of the signal to noise ration regarding the result given for one frame in the previous [[Siril:Tutorial_preprocessing|step]]. | The images above shows you the result displayed in Siril with the Histogram Equalization tool. Note the increase of the signal to noise ration regarding the result given for one frame in the previous [[Siril:Tutorial_preprocessing|step]]. | ||
Now should start the process of the image with background extraction (to remove gradient), and some other process to enhance your image. To see processes available in Siril please visit this [[Siril:Manual|page]]. | |||
End of the [[Siril:Manual#Tutorial_for_a_complete_processing|processing tutorial]]. Return to the [[Siril:Manual|main documentation page]] for more illustrated tutorials. | End of the [[Siril:Manual#Tutorial_for_a_complete_processing|processing tutorial]]. Return to the [[Siril:Manual|main documentation page]] for more illustrated tutorials. | ||
Revision as of 13:13, 2 August 2014
Siril processing tutorial
- Convert your images in the FITS format Siril uses (image import)
- Work on a sequence of converted images
- Pre-processing images
- Registration (manual image alignment)
- → Stacking
Stacking
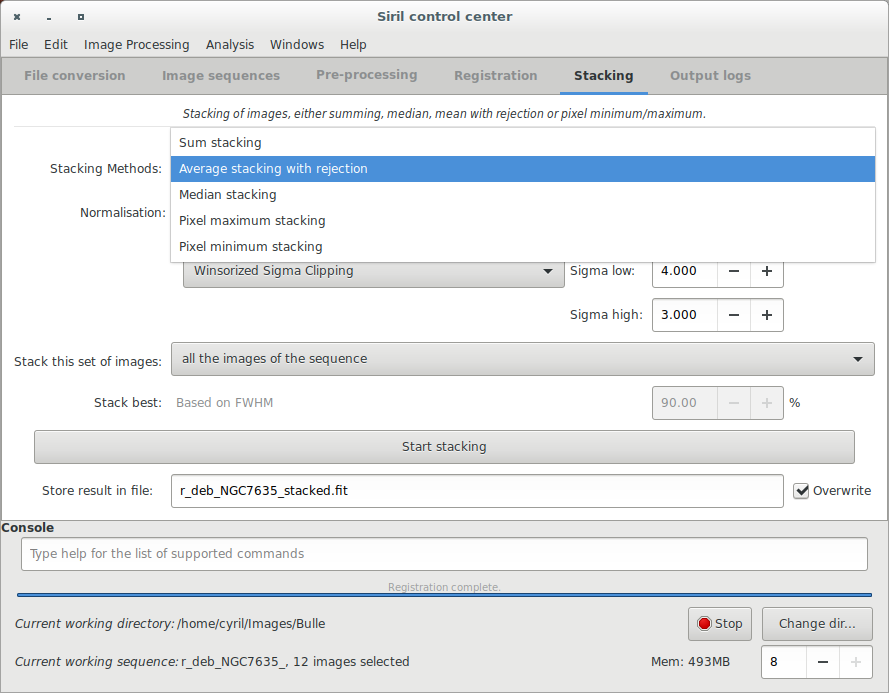
The final thing to do with Siril is to stack the images. Go to the "stacking" tab, indicate if you want to stack all images, only selected images or the best images regarding the value of FWHM previously computed. Then simply click on "Sum Stacking" which is the regular stack. The Median Stacking is mostly used to create pre-processing frames, like offsets or darks and Pixel Maximum Stacking is very usefull for star trail pictures.
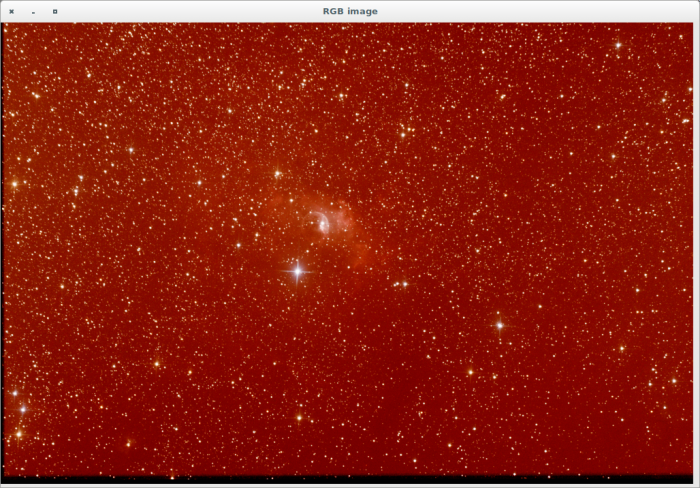
After that, the result is saved in the file named below the buttons, and is displayed in the grey and colour windows. You can adjust levels if you want to see it better, or use the different display mode. In our example the file is the stack result of the 80% best files, i.e., 96 over 119 files.
The images above shows you the result displayed in Siril with the Histogram Equalization tool. Note the increase of the signal to noise ration regarding the result given for one frame in the previous step. Now should start the process of the image with background extraction (to remove gradient), and some other process to enhance your image. To see processes available in Siril please visit this page.
End of the processing tutorial. Return to the main documentation page for more illustrated tutorials.


