Siril processing tutorial
- Convert your images in the FITS format Siril uses (image import)
- Work on a sequence of converted images
- Pre-processing images
- Registration (manual image alignment)
- → Stacking
Stacking
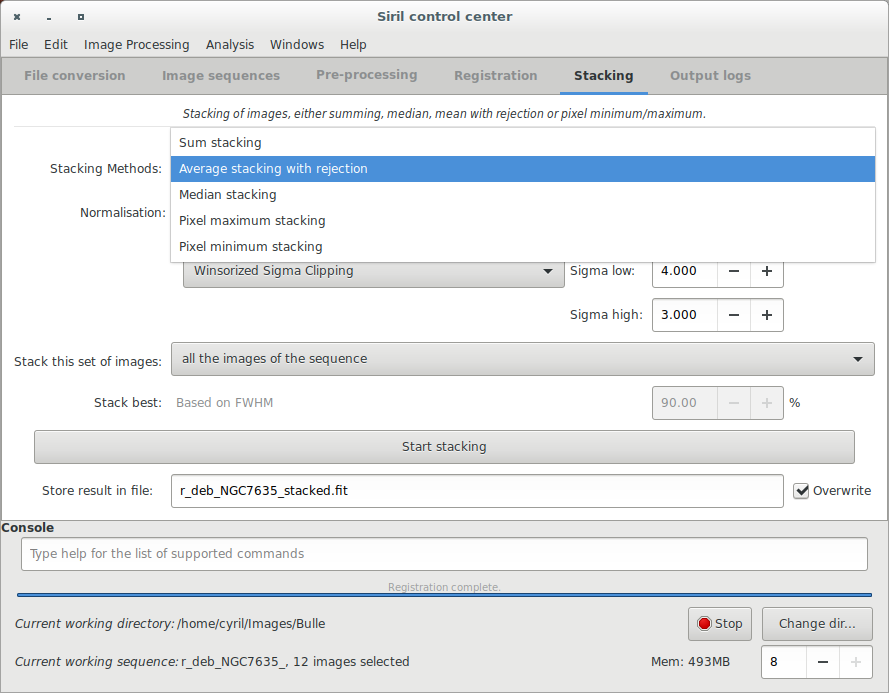
The final thing to do with Siril is to stack the images. Go to the "processing" tab, indicate if you want to stack all images or only selected images (the third option is not yet implemented). Then simply click on "Start summing stack" which is the regular stack. The median stack is mostly used to create pre-processing frames, like offsets or darks.
After that, the result is saved in the file named below the buttons, and is displayed in the grey and colour windows. You can adjust levels if you want to see it better, but that will not be saved in the FITS file.
An export of the RGB composed image is being implemented, in order to use Siril's composition and level adjustment, but I recommend using an external tool such as the wonderful DS9 to adjust your levels. In particular, I use the asinh scaling for blue and green data because they are generally much less equalized than the red when using an unfiltered DSLR camera. Then, you can export the image and adjust final contrast and lightness in The Gimp for example. The following image has been created during this tutorial and edited in this way, from 8 20s images with a high background noise, no autoguiding and a very high periodic error.
End of the processing tutorial. Return to the main documentation page for more illustrated tutorials.


